

Here is why you need to make string Easter eggs: they are messy, they take a long time to make, and the balloons make the coolest glass-breaking/creaky noises when you finally get to pop them. It’s SO satisfying.
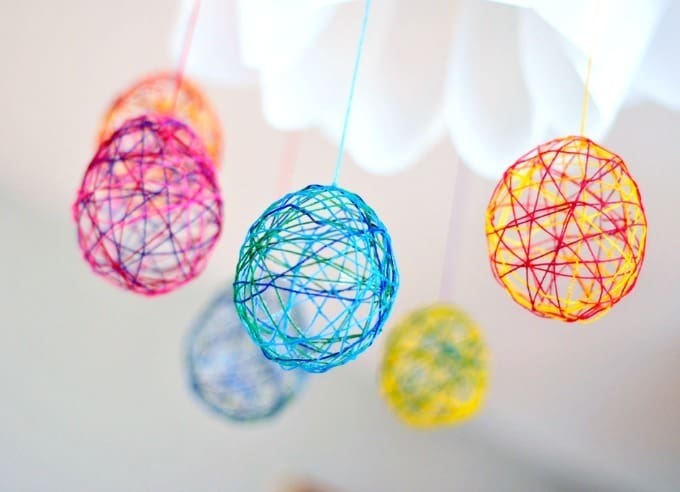
Oh yeah, they’re also kinda cute, aren’t they?
Supplies:
- String, rope, wool
- water balloons
- Craft Glue
Blow up some balloons with the pumper-upper, because your face will explode if you try to blow these suckers up with your breath.
Or you can probably just set the eggs on wax paper after you wrap them, but it’s not nearly as fun as clothes pinning them to a cooling rack.
Cut arm-lengths of embroidery floss- I used about 6-8 for each balloon. Experiment with putting different colors together, or use one color per balloon.
Mix up a bowl of glue with enough water (add a small amount at a time), to make it just runny enough to soak into the embroidery thread.
*Note* I’ve had several comments from people that their string never set up with their mixture of glue and water. I’m not sure how their mixtures differed from mine, but this is not an exact science: you may have to experiment until you find a good ratio. My rule of thumb is water down the glue just enough so that it coats the floss easily.
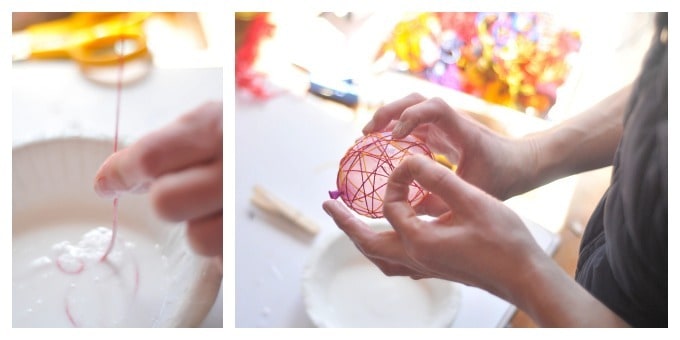
Take a piece of your thread and dunk it into the bowl of water glue, pressing it in all the way so that the whole length of the thread gets nice and saturated. Grab an end of the thread and wring it out between your fingers as you pull it from the bowl.
Now wrap it around the balloon, and follow suit with each piece of thread until it looks good to you.
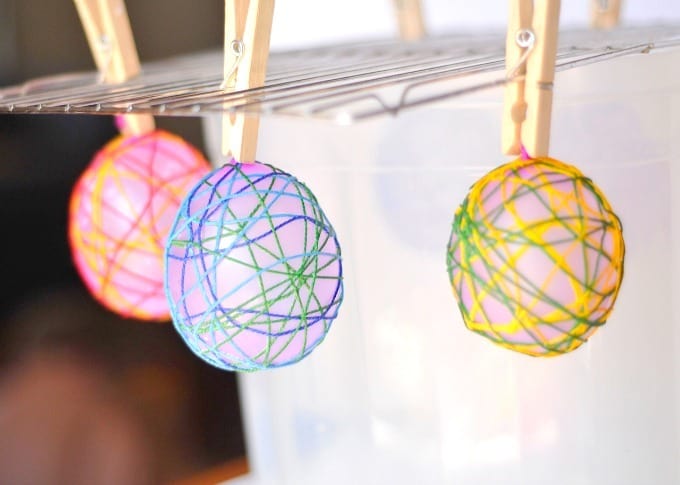
I clipped the balloons to the drying rack with a clothes pin – just make sure they aren’t touching each other, and won’t be knocked over.
After a few hours, your string will have dried and you can pop the balloons. We had a very fun family few moments poking tacks into the balloons and watching/listening to them as they slowly deflated. Pull the balloons out with your fingers or tweezers.
Note: To be safe, you might want to let these dry overnight or even up to 24 hours. You don’t want to go through all that work only to find they haven’t set up properly.
Now is the time to decide if you want to display your string eggs in a lovely bowl, or tie embroidery thread to them and hang them from your Ikea light. I was so tempted to tie them to a ceiling fan. 🙂


